The Easiest Shelf Styling Tips
Years ago, when I first started getting into interior design, I didn’t know where to look for ideas or inspiration. There are thousands of ways to go about decorating a home yet I didn’t have a specific way to narrow it all down. Without any real guidance of where or how to begin, I excitedly dove in, teaching myself as I went. Over the years, I have come to love styling shelves, credenzas, buffets and hutches. The whole process is extremely creative and so much fun. If you are in the same boat as I once was or are simply looking for some new ideas, I hope this guide for styling shelving is encouraging for you. Join me for the easiest shelf styling tips!
If you are new here, I’m Rachel, the blogger and content creator here at The Antiqued Journey. I’m so happy to have you! I invite you to stop by the ‘about me’ page to get to know me a little more. Here on the blog, you will find loads of inspiration for decorating with vintage and antique decor, simple DIY crafts and many thrifting adventures. If that interests you, I invite you to sign up for my e-mail. You will receive a free digital download as a thank you!
Just talking about styling decor, in any form, makes me giddy. There are nights when a decor dilemma wakes me up in the middle of the night, like when I was trying to style something the day before and couldn’t quite get it right. I’ll sometimes lay there for an hour, wondering how I can fix it. Or, on the opposite side of the spectrum, I’ll wake up with excitement, like on weeks when I’m switching decor out for the seasons. These types of things keep me going and help me to not only stay motivated but also creative.
I am by no means an expert at any of this. However, I do feel I have learned enough to be able to share things that have worked for me as well as easy tips and tricks to help your styling be a fun process rather than a complicated one. It’s easy to overthink things but I’m here to help alleviate that!
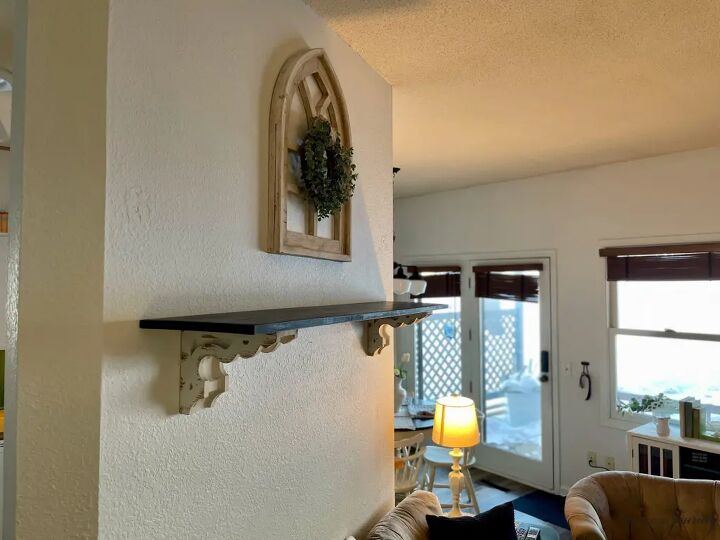
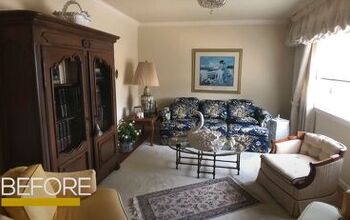
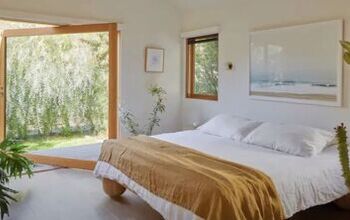
The shelf that you will see in this post is a wall shelf but these tips can be applied to any type of shelf. I’m breaking this process down into super simple and easy to follow steps, so let’s get into it!
Shelf Items Used
- blue jars
- enamel pot
- lace ribbon
- vintage books
- milk glass bowl
- vintage plates
- faux eucalyptus
The Easiest Shelf Styling Tips
Step 1: Clear the Shelf.The first thing that I like to do when styling a shelf is to clear everything off and give it a good dust. A clean slate always feels so fresh!
This also allows you to use the blank slate and do a little planning as to how you want your decor to look. Ask yourself questions like “Do you want a specific color theme?” or “What are items you already have that you can use on the shelf?” or “How do you want this shelf to feel?”
Those questions might help you get your creativity flowing and will also give you some boundaries to go by when choosing the decor items.
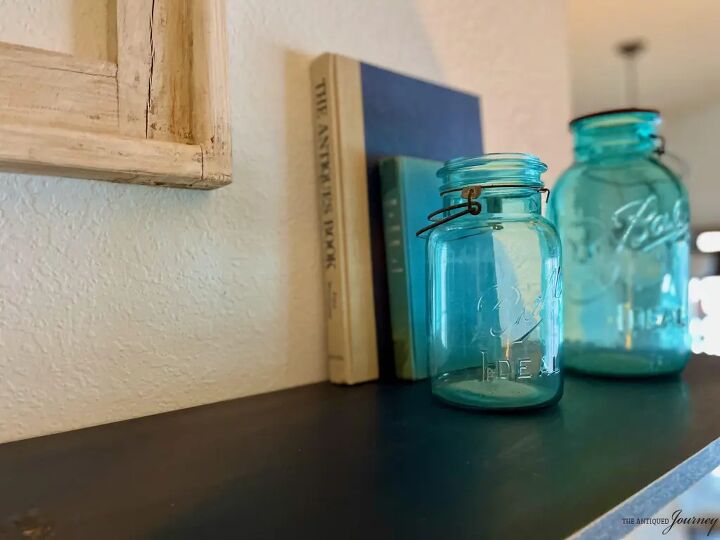
I always start decorating a shelf by choosing two tall items to use on each end of the shelf. This helps to define the space as well as add height.
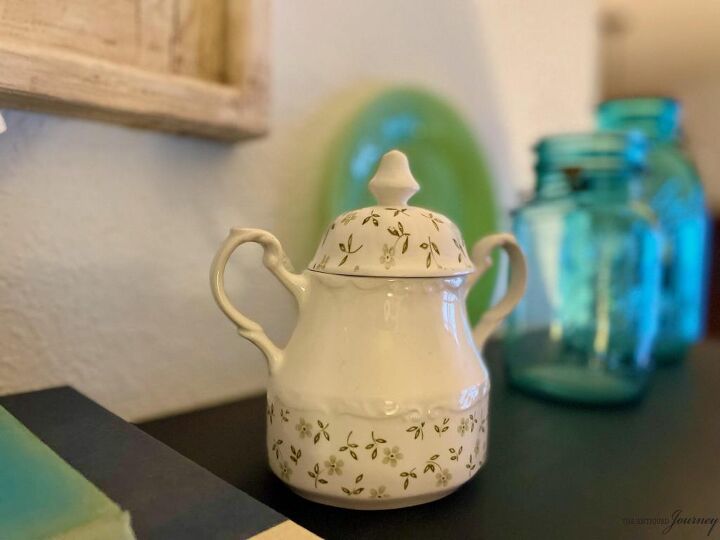
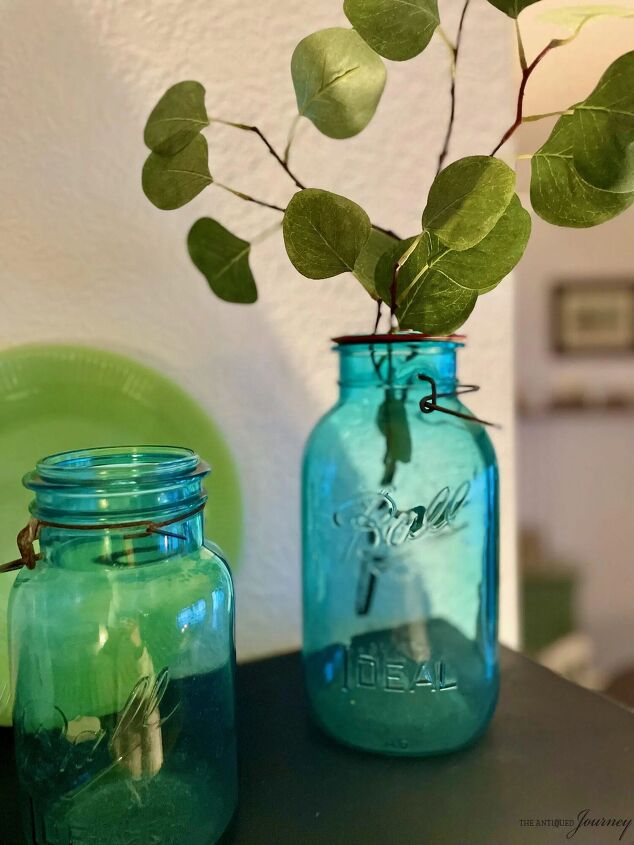
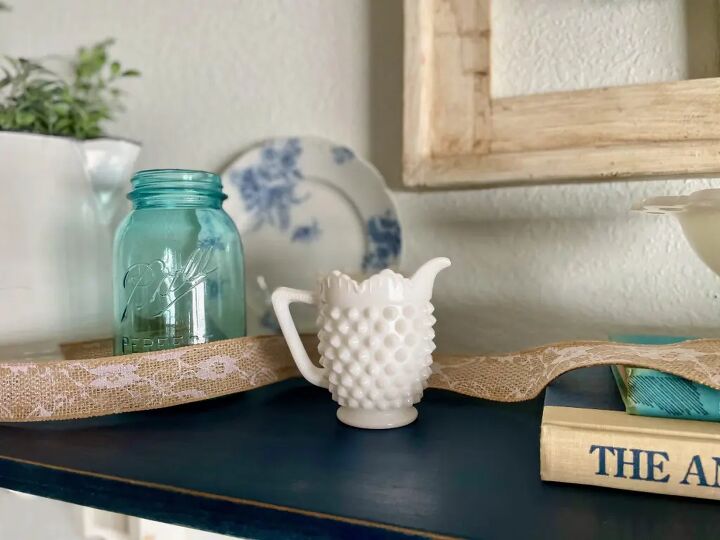
In this case, I used a tall blue jar on the right and a vintage white enamel coffeepot on the left. The greenery stems were already in the pot because I had this displayed in my kitchen, so I just left them in there.
I place these two anchor items a bit further in than necessary and move them out as decor is added. That helps me to not get overwhelmed with the amount of shelf space there is to cover.
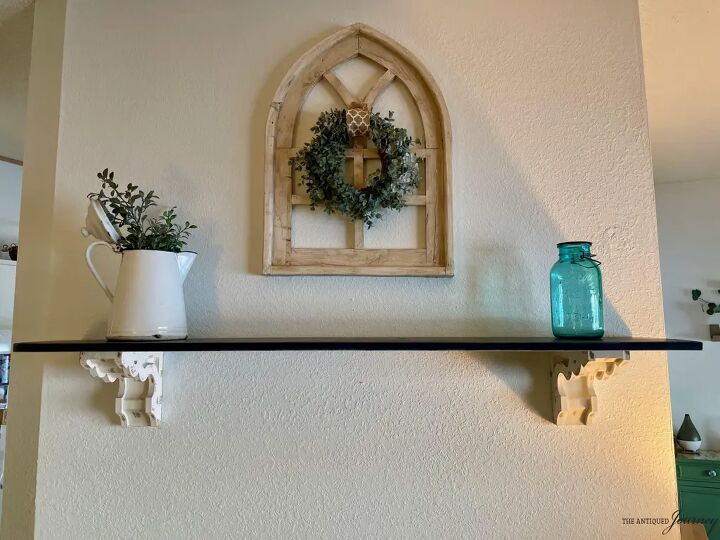
Then, because the pot is larger than the blue jar, I added in another blue jar, slightly smaller in size, so that the shelf felt symmetrical. Do you notice how, to your eye, the shelf looks a little more even now?
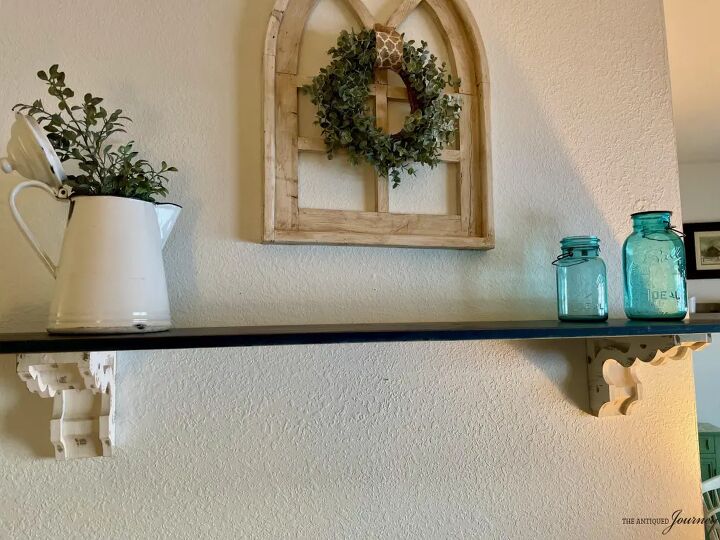
The next step that I do is add items in the back for height (and also to cover up some of the wall).
For this particular display, I wanted to use a vintage plate. Now, this shelf does not have a grooved plate holder in the back of it, so here’s a super easy tip. Use one or two felt chair pads and stick them right in front of the plate! You won’t be able to see the pad once more decor is added.
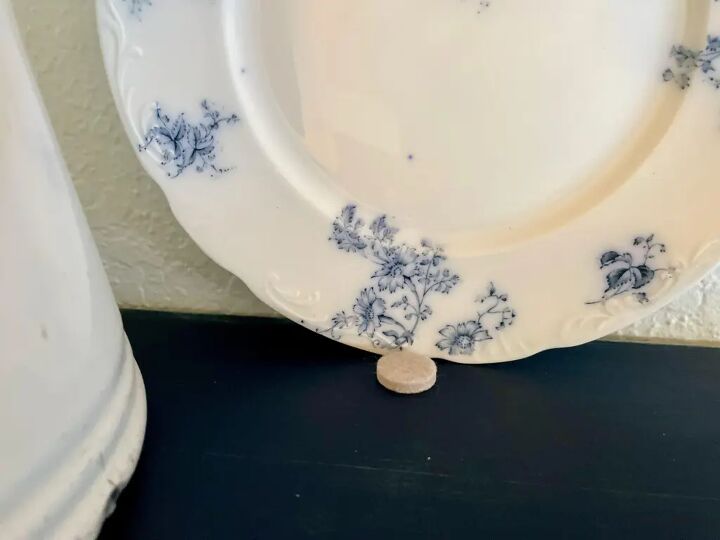
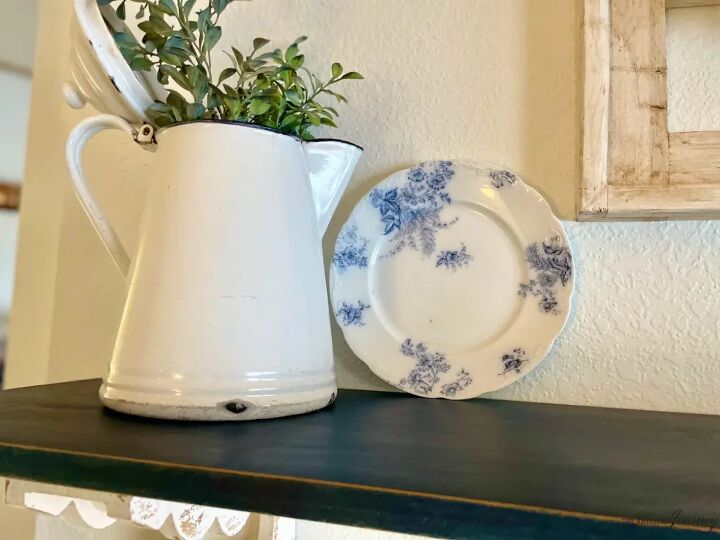
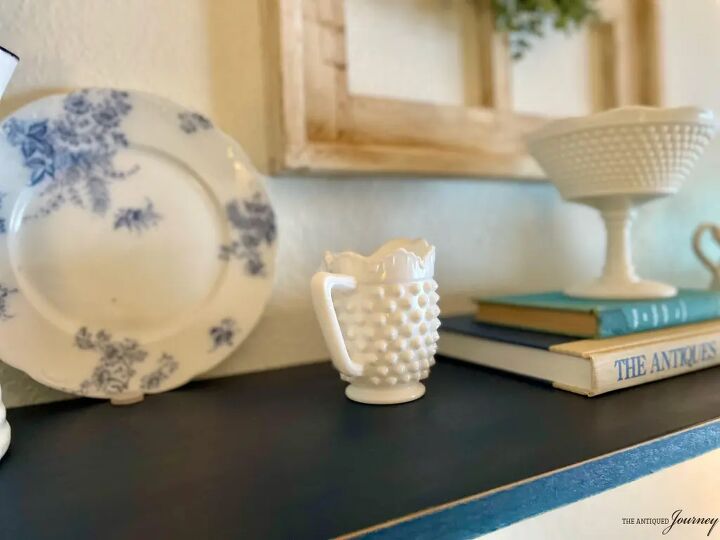
I placed a white and blue floral plate on the left side.
Other items you could use in a background can include:
- platters
- vases
- architectural pieces like old windows or shutters
- candlesticks
- baskets
- art
Now, here’s where things get interesting. I needed to balance this height on the right side and had planned to use a few vintage books. I set some books in place, as seen below, but didn’t think it looked quite right.
I even tried opening the books up to make them longer but didn’t like that either.
When you are styling a shelf, this is going to happen. The idea you had might not look exactly how you pictured it, so just go with it. Take out what’s not working and try something else until you are happy with how it looks! This might take a few tries, maybe even a few days to figure it, but that’s totally okay!
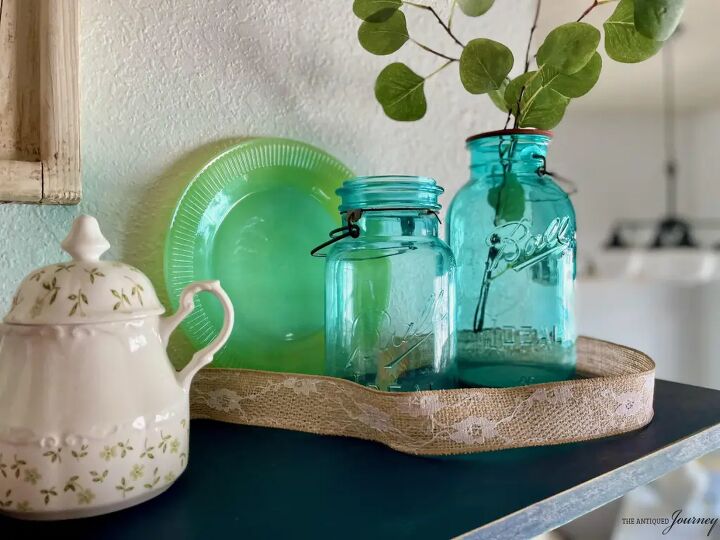
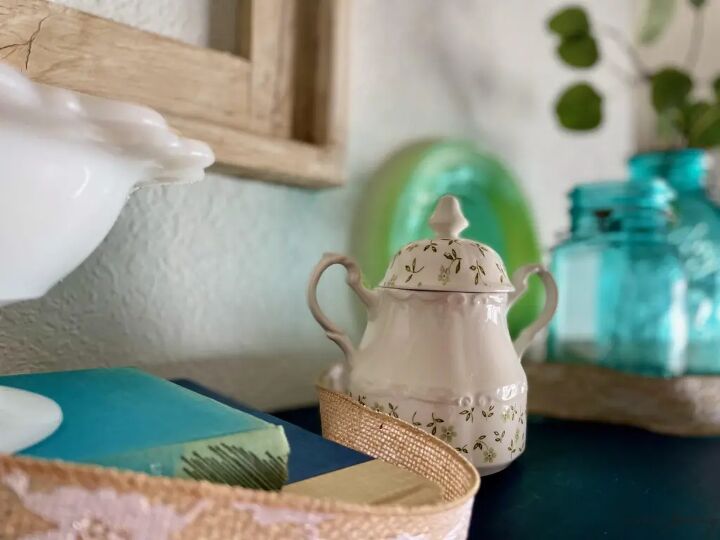
I walked around my house to see if there was another plate I could use in place of the books. Wouldn’t you know it…my jadeite plate works perfectly in that spot!
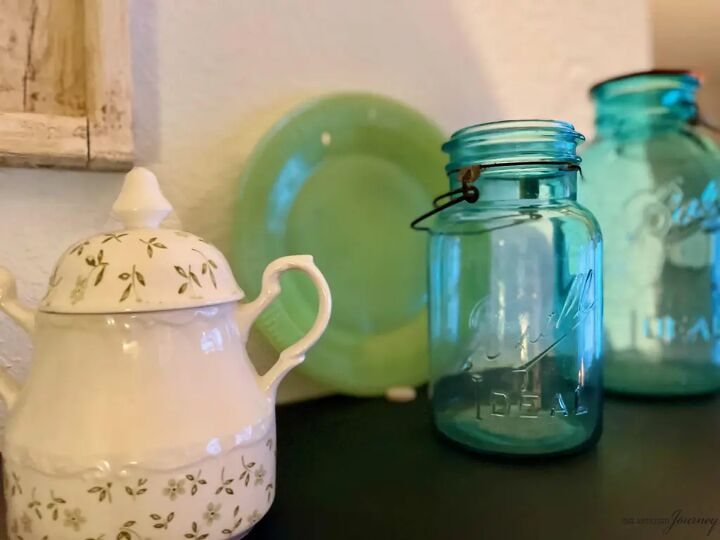
After you have the anchor items and the background items in place, you can start adding in smaller decor.
My best tip for this step is to keep your color theme in mind. I was using blues and whites with pops of green so that’s what I stuck to when choosing items for the foreground.
To pull the green from the jadeite plate to the front of the shelf, I placed this vintage Ironstone creamer next to the blue jars. I found this thrifting for only $3!
Another tip I have for this step is to remember symmetry, like a butterfly.
Since I added a shorter item on the right, I also placed a shorter item on the left, which is this milk glass pitcher.
Now all that is left to style is the middle of the shelf.
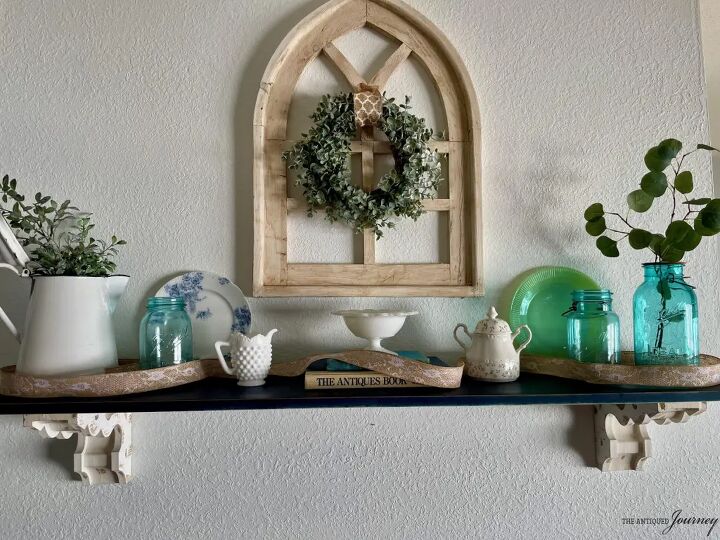
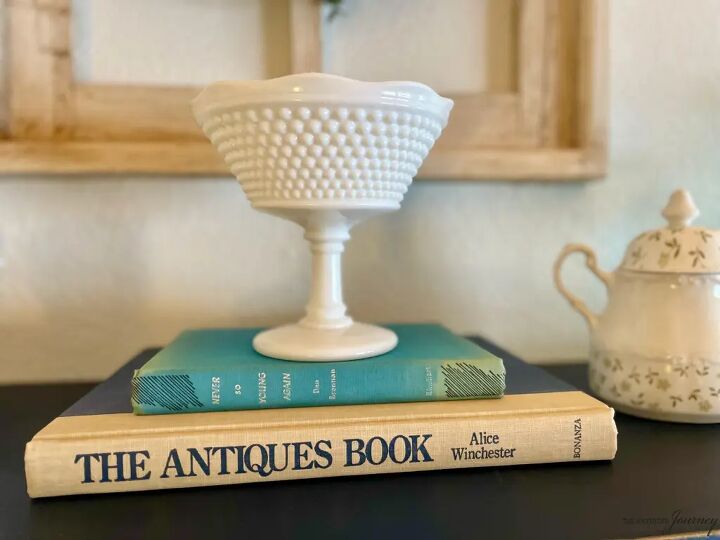
Remember those books from earlier? I really wanted to use them on this shelf, so I stacked them and placed them right in the center. On top of the books, I set a milk glass pedestal bowl to help draw the eye up.
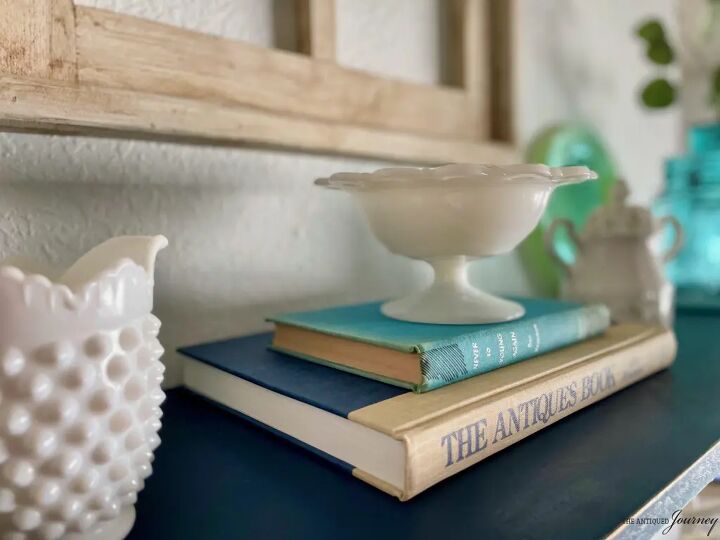
This not only adds more height to the shelf as a whole but also really defines the color theme with the blue books and white bowl.
Everyone is different when it comes to styling decor. I like to keep shelving decor pretty minimal because I don’t like it to feel too cluttered, but you could keep adding items as you see fit.
Once all your decor items are in place, you can add in texture with the help of greenery or floral stems. Texture is important when styling a shelf because it brings the whole display to life.
As stated above, I already had some faux greenery stems in the enamel pot. To balance the greenery on the right side, I placed a tall stem of eucalyptus in the tall blue jar.
Another accessory you could add to bring in more texture is ribbon.
This step is completely optional, but I had some ribbon on hand to use, so let me show you how that looks.
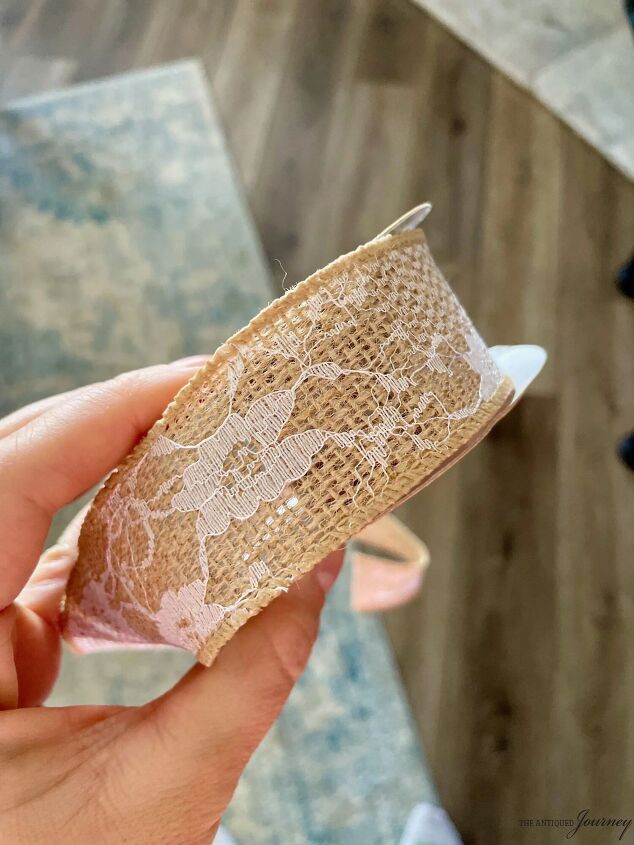
I started at one end of the shelf and simply wove the ribbon in and out of the decor.
My tip for this step is, if you are using ribbon, make sure it’s at least an inch wide. That larger size helps ground the display and gives it cohesion.

Weave the ribbon through until you get to the end of the shelf, then cut it and place the tag end behind your anchor piece.
And with that, you have a styled shelf!
My last tip is to live with the initial display for a few days and see how you like it. The beauty of styling home decor is that nothing is stagnant. You can move items around or tweak things as you see fit.

Closing Tidbits
It is my sincere hope that you are inspired by the easiest shelf styling tips! I hope you are able to pull bits and pieces from this shelf styling guide to use in your own home. Decorating your home needn’t be a stressful process but rather a peaceful and creative activity. Our homes are always evolving; a continuous journey that ebbs and flows with whatever season we find ourselves in. Be encouraged to find stillness in the ever-changing rhythm of life.


Comments
Join the conversation
Comment on anchoring the plates. The chair pad may keep it from sliding off but it won't keep it from rolling. Try a little dab of sticky tight. Put a small roll in front of the plate and smish the edge to it. It won't hurt the shelf or the plate, and that little puppy won't go anywhere.
Thank You! I love your writing as well as your taste. Of course, we all have different taste as to what “clicks” with us. I happen to LOVE the Jadite plate behind the blue glass jar. And in antique co-op where I used to work, we all used a tiny scrap of gripping shelf liner under the bottom edge of plates. That also works quite well.
in one photo you show a slightly taller milk glass compote in the middle. I’m guessing you found that later & “improved “ the display. It’s perfect!!!