How to Hang a Gallery Wall: 5 Key Tips & 3 Easy Layouts

Do you want to know how to hang a gallery wall with all of your prized photos and artwork? I'm going to share with you three gallery wall layouts. I’ll include the sizes and everything else you need to know on how to create and hang a gallery wall on a blank wall in your home.
I picked six of my favorite prints from Stockholm Art House to show you these three different ways to style a gallery wall. I used the same six prints for these three layouts. But first, let's run through a couple of rules of thumb to keep in mind when you’re styling your gallery wall.
Table of contents
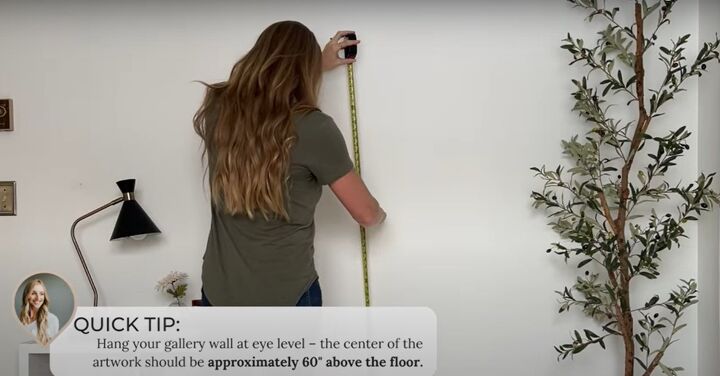
1. Hang it at eye level
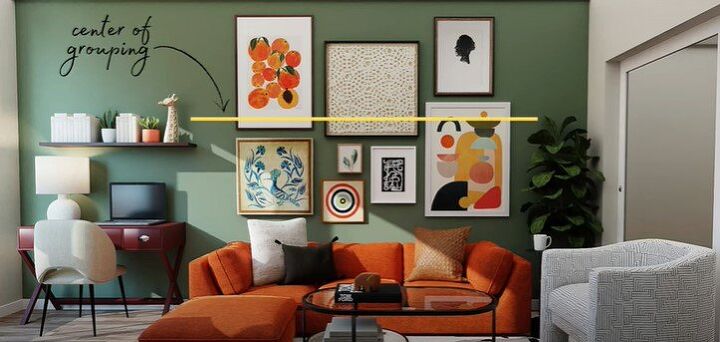
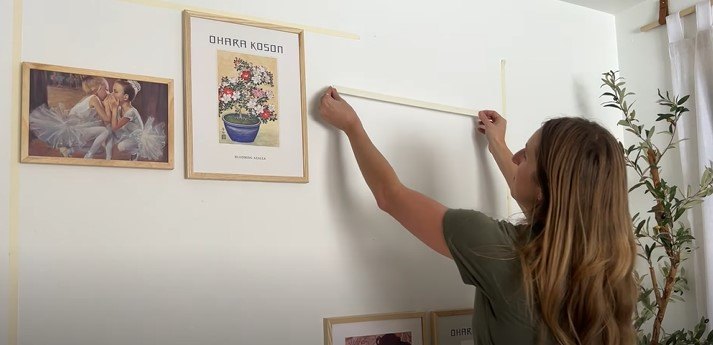
Regardless of the layout, you want to hang the gallery at eye level. That’s approximately 60 inches up from the floor which will look the best. The 60-inch mark will be the center of your gallery wall (see the yellow line above). If you have a lot of prints on your gallery wall, that's 60 inches from the center of the grouping of your frames.
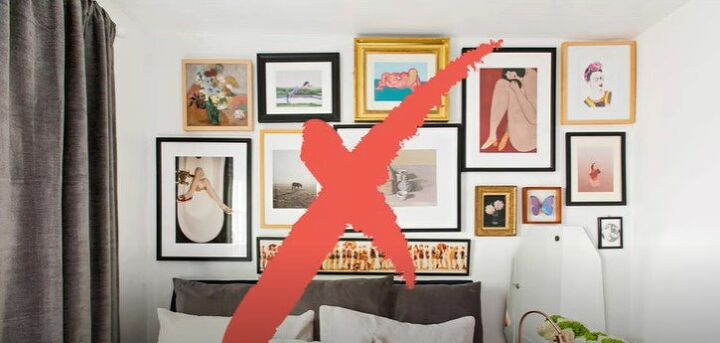
2. Don’t clutter your gallery
Keep in mind the spacing between your art because you do not want to create a cluttered, busy, or overcrowded look. Keep around 2 to 3 inches between the edges of your frames.
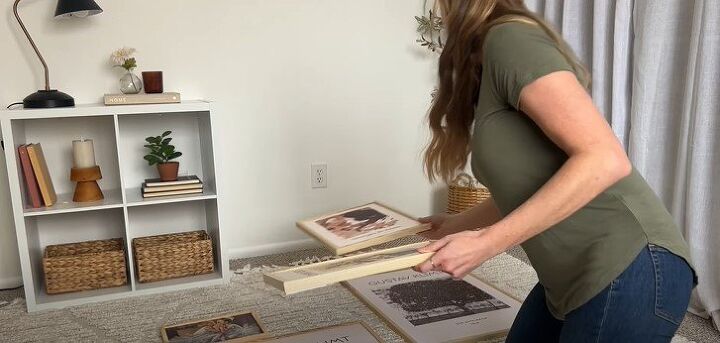
3. Create a general plan
I’ll give you templates you can quickly use and copy to create a gallery wall. First, lay your pieces of art out on the ground to get a really good feel for what it will look like once it’s on the wall. You want to make sure the colors are going to go together with the layout that you've chosen. Doing this makes sure that your overall layout and size and grouping are going to work for the space that you're using.
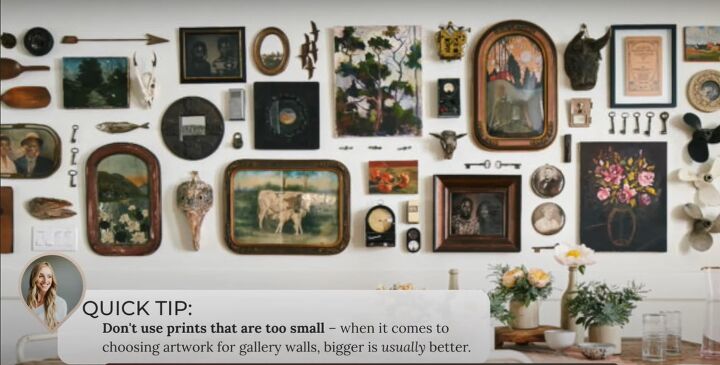
4. Don’t go too small
Avoid choosing frames and artwork that are too small. You want to be able to clearly see the photo or the art. Also, hanging teeny tiny frames can make a gallery wall look too busy. Larger looks better overall.

5. Decide on an overall theme
Think about your overall theme, style, and what you are trying to achieve with this gallery wall. Make sure that the prints go with the rest of the pieces and colors in your room. To start, choose an overall color theme across your artwork so that they all go together.
For example, choose the same frame color or style for all the pieces or maybe there’s some other color in the artwork that ties them all together.
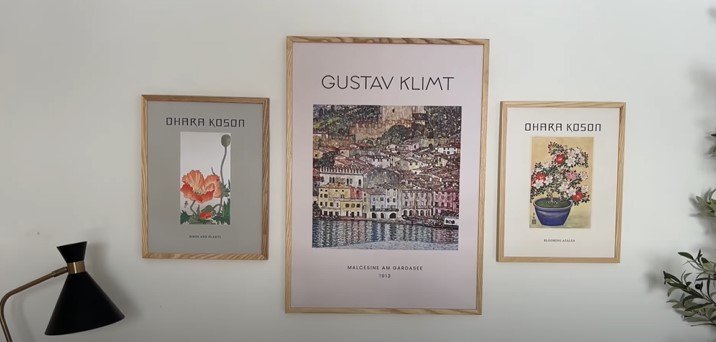
Gallery wall layout 1: symmetrical
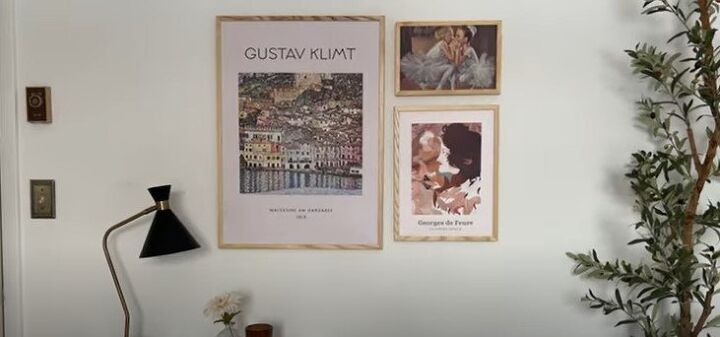
This is a very simple, classic, and elegant three-piece symmetrical layout that’s easy to achieve. You need to make sure that everything is level and spaced correctly since it is a symmetrical look.
Here, I used three different prints and focused on one larger piece to be the focal point in the middle of the layout. The other two prints are the same size and I placed them on either side of the larger print.
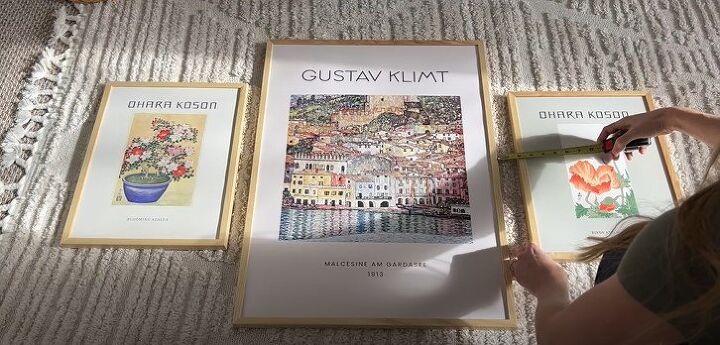
Floor layout
So before hanging this first layout up on the wall, I laid it out on the floor to make sure that my prints go together and that I liked the overall look. I measured to make sure the spacing was correct.
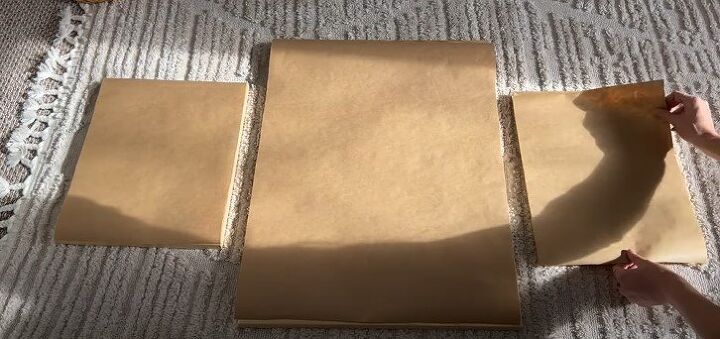
Craft paper
Next, I cut craft paper in the exact same size as the frames and I put them up on the wall with masking tape so I could quickly move them around if I needed to adjust anything. Once I liked how it all looked, I hung my prints.
Command strips
One of my favorite ways to hang any frame or artwork or anything on the wall, especially if I'm trying to avoid putting holes in the wall, is to use 3M Command Strips. These are specifically designed for hanging frames.
It's kind of like Velcro. You remove the sticky adhesive, put it on your frames, and then once you've put the Velcro parts together, you can remove the other part of the adhesive and place it on the wall, applying pressure for 30 seconds. They're very easy to change around, too.
Gallery wall layout 2: Boxed
I used three prints here, too, but this time I used one large piece, one medium, and a smaller horizontal frame. This layout created a boxed look that’s still a very classic, easy layout.
Drywall hooks
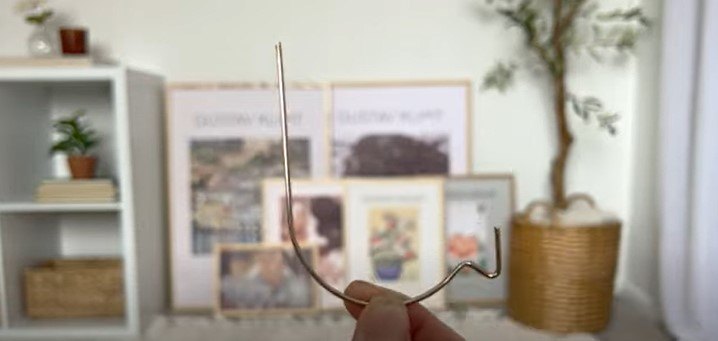
For this layout, I used drywall hooks. It’s one of my favorite tools to use. The unique shape and design of these hooks put a tiny little hole in your wall, kind of like a nail hole, but you don't need a stud. They can hold heavy objects, which is great for these larger-size frames.
Simply push it into the wall, curve it around, and then on the outside of the wall all you see is this tiny little hook, But on the other side of the wall, it's securely placed and anchored so it can hold heavier frames.

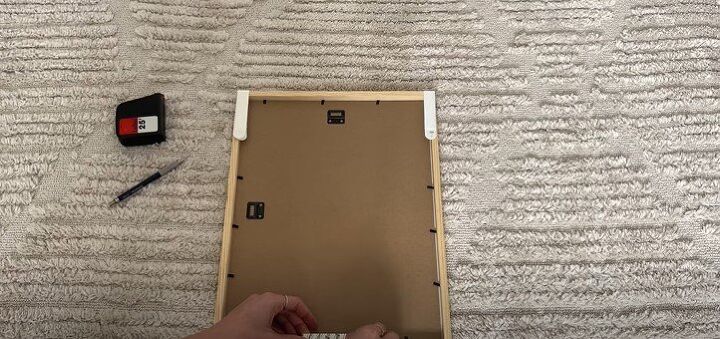
Measure, measure, measure
To use these I measured the distance between the two frame hooks on the back of the frame and then again measured it on the wall so that I could have my hooks the exact distance that I needed to hang the print.
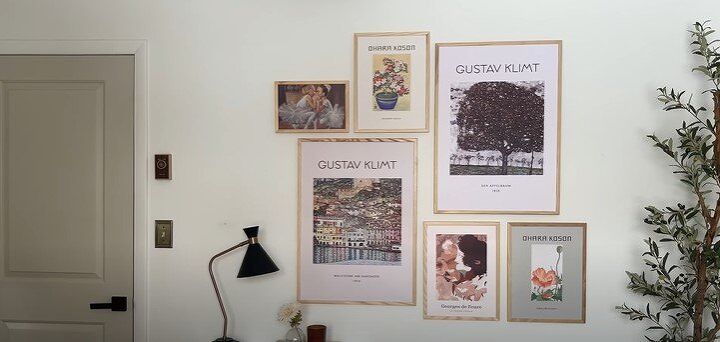
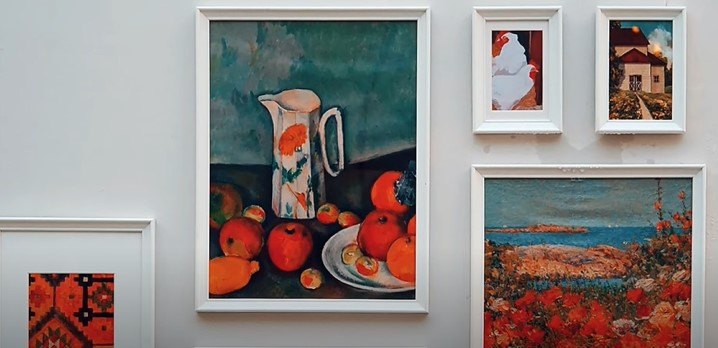
Gallery wall layout 3: Eclectic
This was my version of an eclectic gallery wall. You could also call it an asymmetrical look. I loved this because I used all six of my prints. I had the two larger pieces and then all three of my medium-sized prints. I then incorporated the small horizontal print into the grouping.

Floor layout
I laid everything out on the floor to get a good idea of what print I wanted in which position and where to make sure my layout is exactly how I wanted it.

Tape border
Once I laid it out on the floor, I used masking tape to create a boxed border around the grouping. This is a great way to make everything centered and spaced correctly within the border.
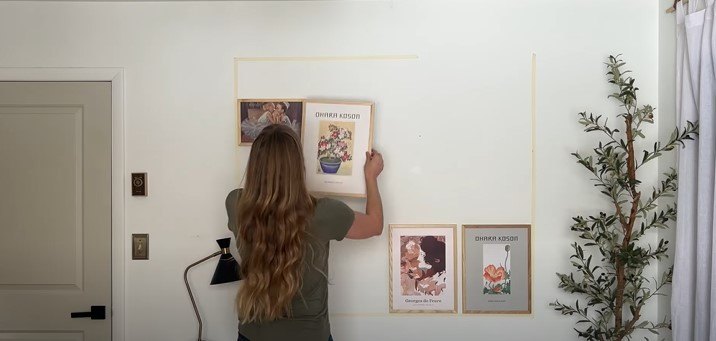
Tape the wall
I transferred the taped border on the wall so I could put my pieces within the space. Then I worked my way from the outside of the border toward the center. So then once I had the tape on the wall I put in my pieces that lined right up with the tape on the outside.
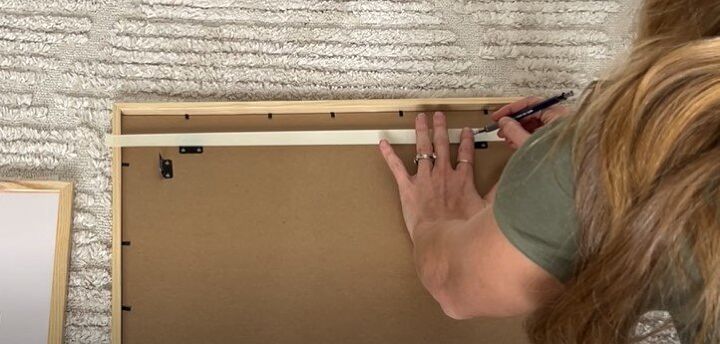
Tip: Know where to put holes
Here’s an easy way to know exactly where to put nail holes or hooks in the wall. Put a piece of masking tape across the back of your frame over the hooks. Place a mark right on the tape where the hooks are located. Transfer the piece of tape to the wall so you know where to put the holes to hang the piece.
How to hang a gallery wall
These three basic gallery wall layouts always look neat and classic. You can use these ideas with photographs, too. Let me know if these layouts work for you. Do you have another easy layout you can share?


Comments
Join the conversation