Autumn Mantel Styling Ideas
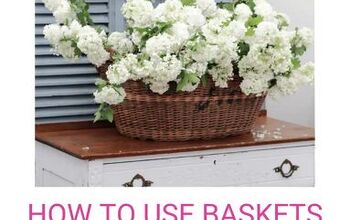
Want to create a new look for your mantel this holiday season? I share my simple go to steps for how I decorate my mantel, and bring you along on the process!
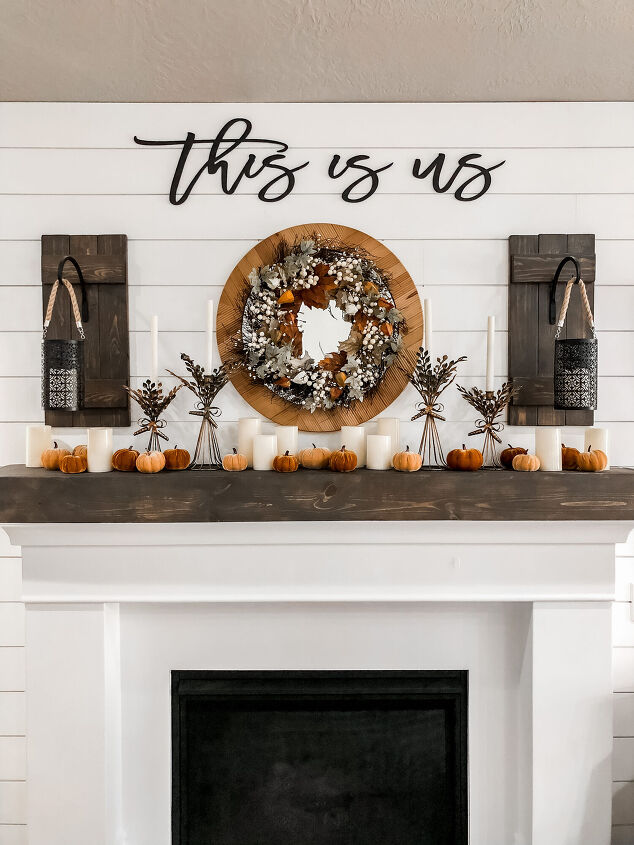
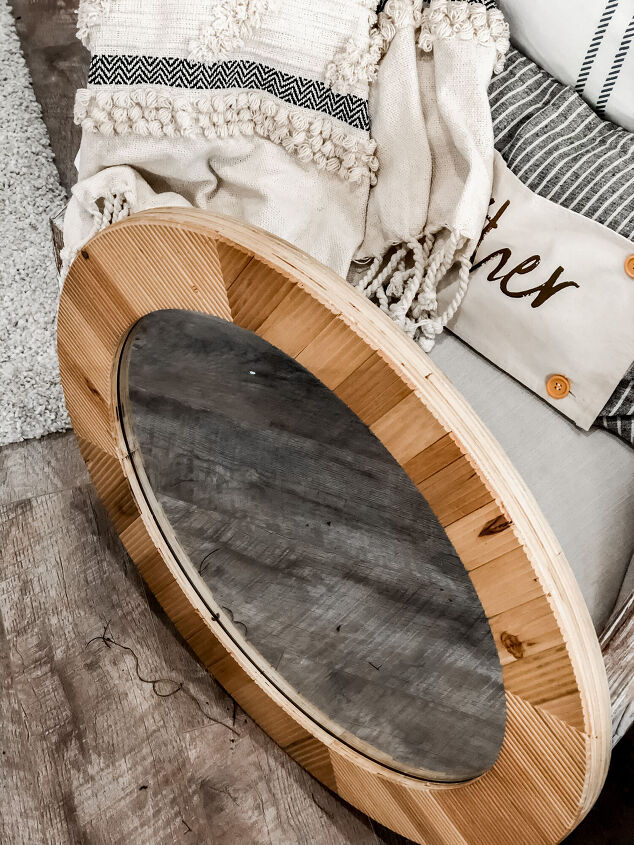
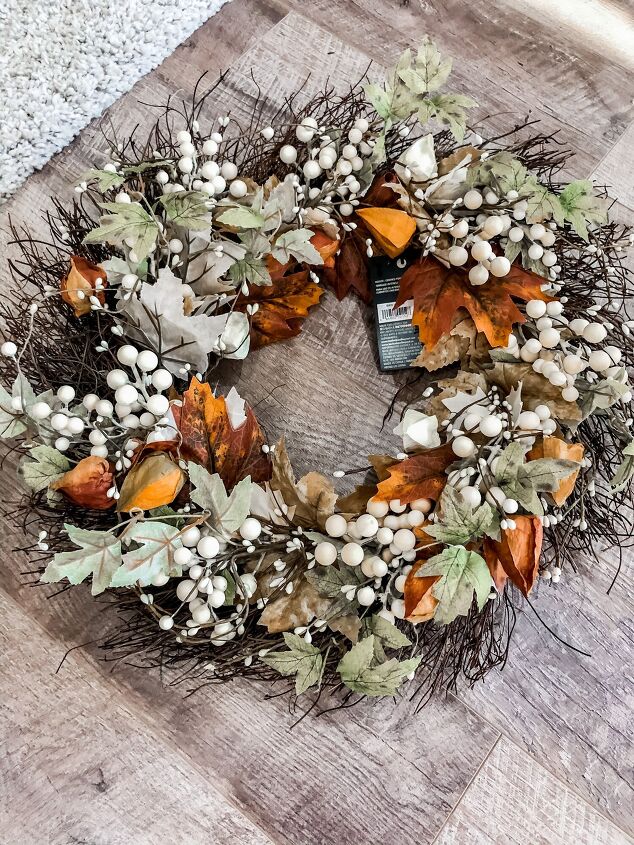
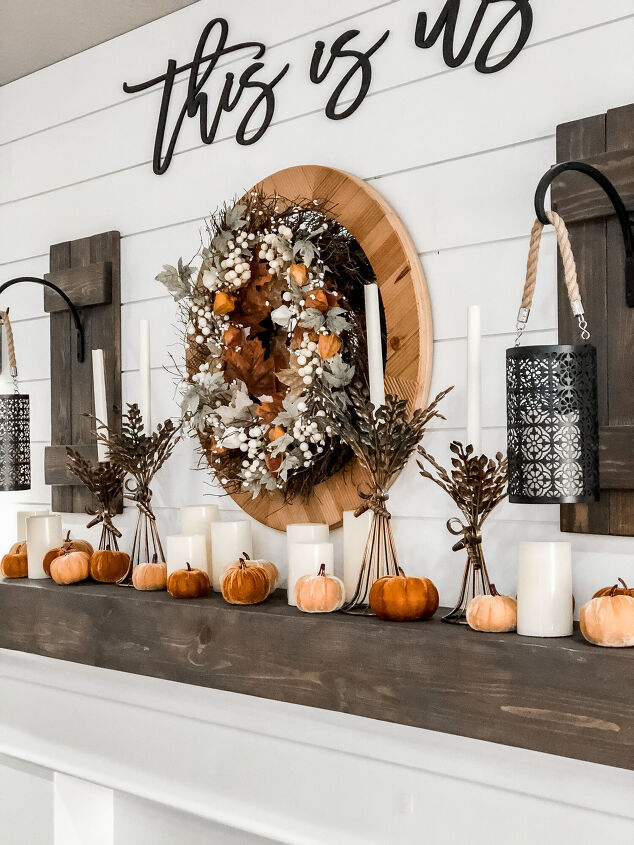
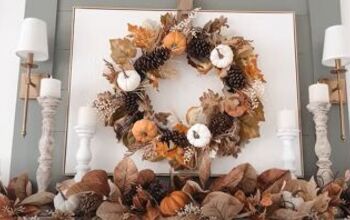
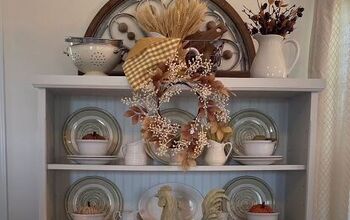
I always add my first piece to be the focal point. This is the center of my mantel and ranges from signs, photos, to mirrors! This season I added a wood mirror, and then attached a Fall wreath to the center using 3m hooks!
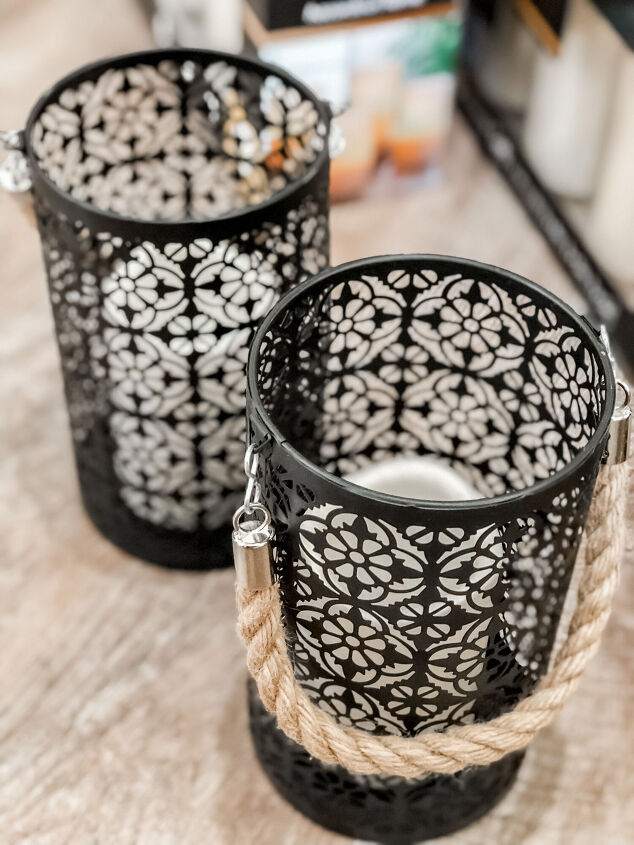
I have wood shutters on each side of my mantel and I love to add new pieces to this space. I call this my end caps. It frames the look of my entire mantel. I used garden hooks to hang lanterns on. This season I used LED candle lanterns with batteries!
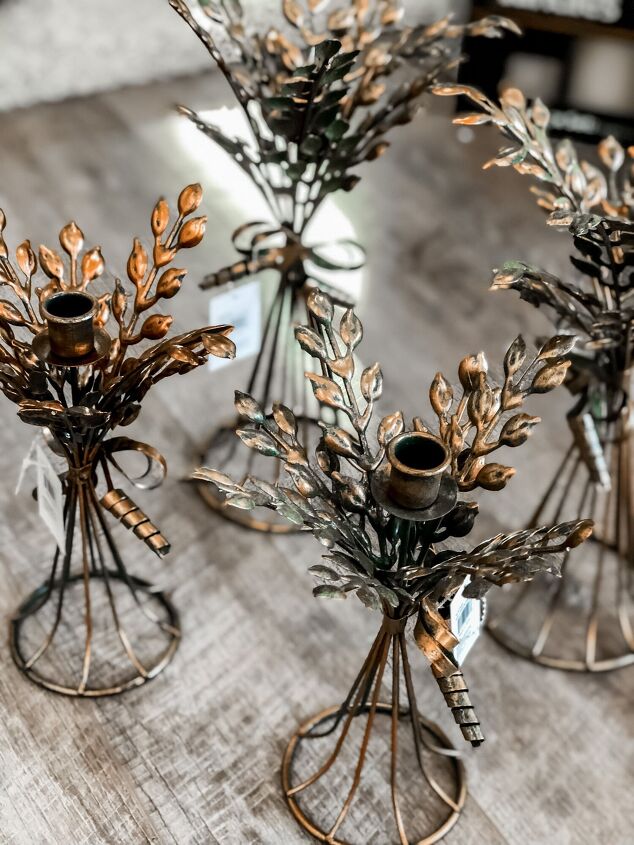
Adding height to your mantel creates a good dynamic. I space this out around the focal point. I used Fall candlesticks in two different sizes - the brass color looks so beautiful!

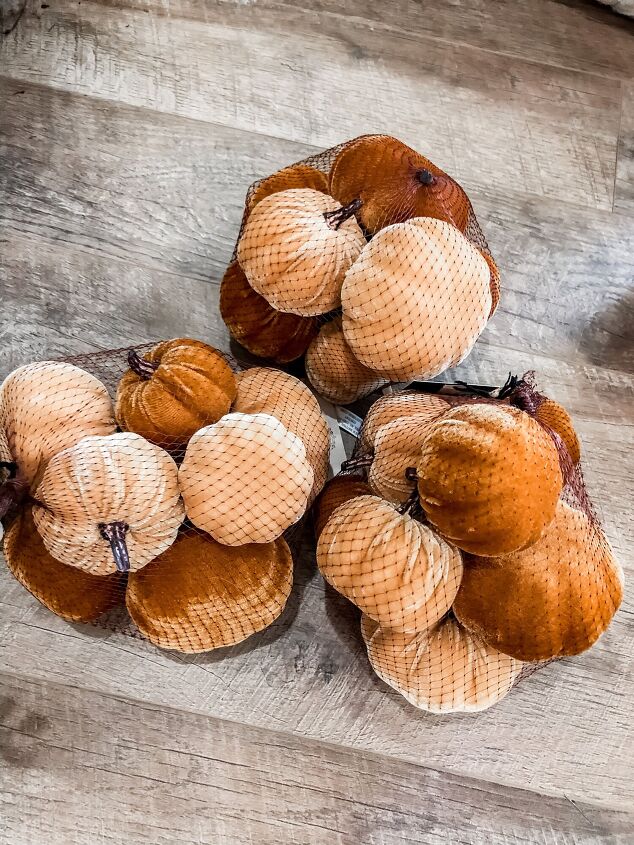
The final step is to add small filler items that represent the season. You can add as much or as little as you like. For this I added different sizes of battery operated candles, and velvet pumpkins. I had my daughter come in and help and she absolutely loved it!
I love the way it turned out, and it took such little time to set up. The hardest part was looking online for my favorite items!
I hope this tutorial helps you when decorating your mantel for the holidays!


Comments
Join the conversation
Beautiful.
Nice!